
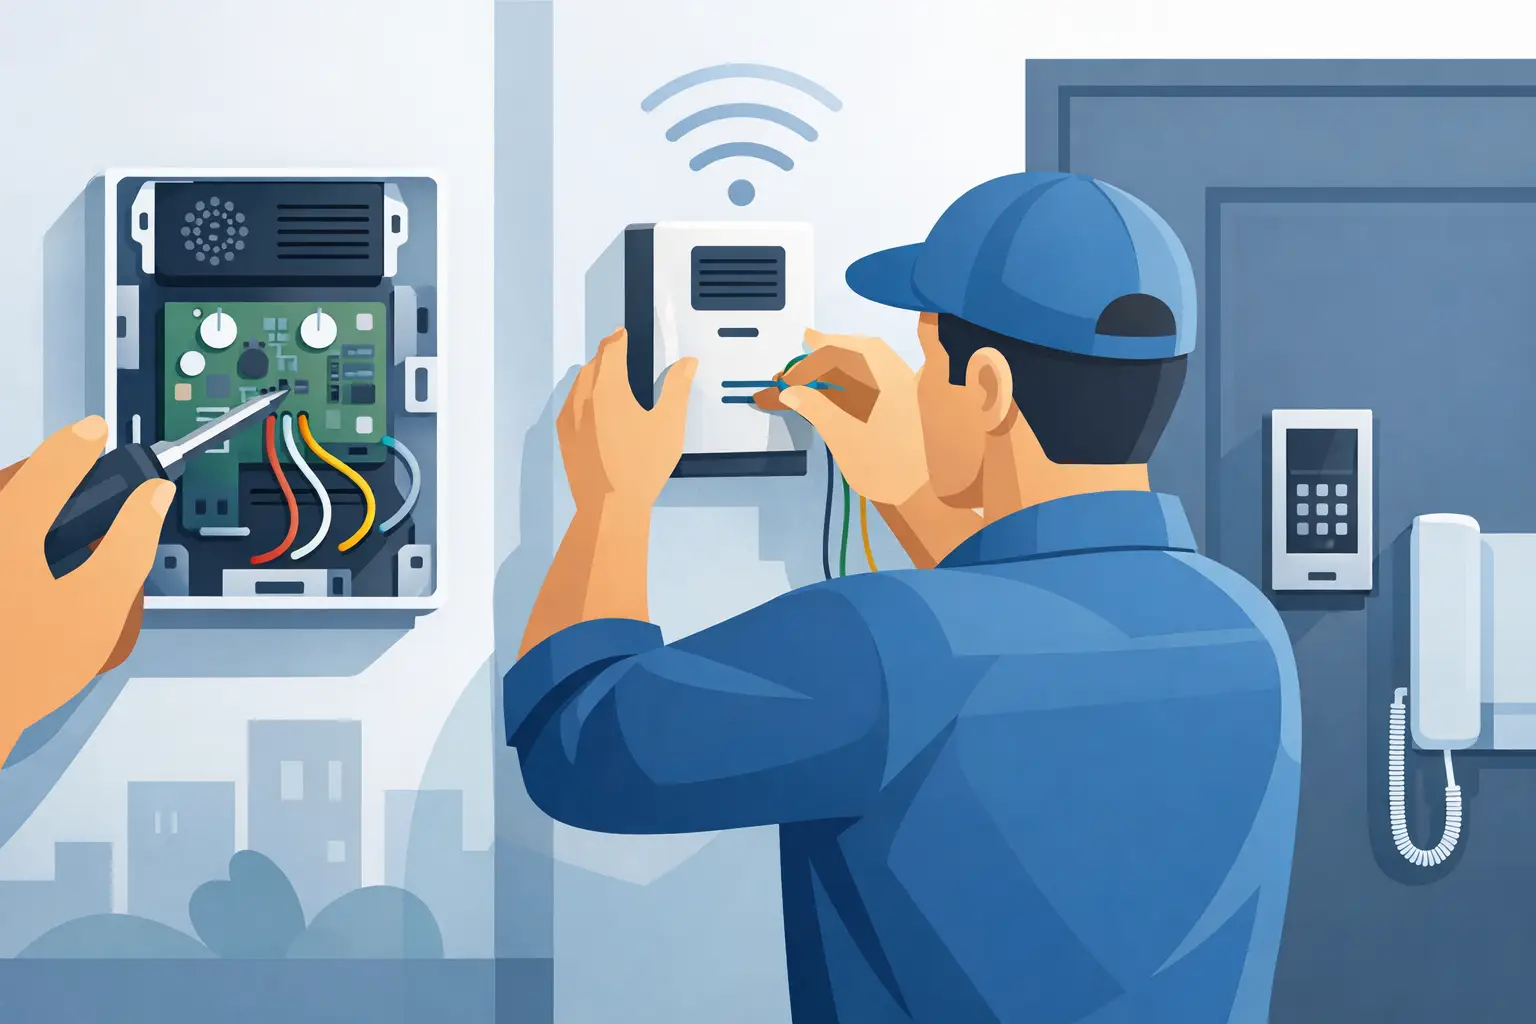
A failed door buzzer can look like a small maintenance issue until tenants cannot reach a unit, deliveries back up at a locked entrance, or a receptionist loses visitor communication. Knowing how to replace door buzzer equipment starts with identifying what actually failed. The button, interior chime, transformer, intercom handset, entrance panel, wiring, and electric door release are separate components. Replacing the wrong one wastes time and can create a compatibility problem.
For a simple single-family wired doorbell, replacement may be straightforward. For an apartment entry system, office intercom, gate station, or door-release application, the buzzer is often part of a larger low-voltage access-control system. Treat it as a system repair, not a swap based only on appearance.
Identify the type of door buzzer before ordering parts
The term “door buzzer” is used for several different devices. A traditional doorbell has an exterior pushbutton and an interior chime or buzzer. A multi-unit building may have an entrance panel that calls individual handsets or stations. In commercial properties, a pushbutton may energize an electric strike, magnetic lock relay, or request-to-exit circuit.
Start by documenting the symptom. If the exterior button does nothing but the indoor station has power, the button or its wiring may be at fault. If the button works but there is no sound inside, investigate the chime, buzzer, handset, speaker, or transformer. If communication works but the door will not unlock, the issue may be the release button, power supply, lock hardware, relay, or wiring to the door.
Before disconnecting anything, record the manufacturer, model number, terminal labels, wire colors, voltage markings, and the number of conductors connected. Take clear photos of the existing installation. In older buildings, wire colors are not always reliable, and previous repairs may not follow the original diagram.
Know when a direct replacement is possible
A direct replacement is most likely when you are changing a standard wired pushbutton, a conventional low-voltage chime, or an identical intercom station. Match the operating voltage, wiring arrangement, mounting dimensions, and intended application.
Intercom equipment is less universal than it appears. A handset or entrance panel from one manufacturer may use a different call method, audio circuit, power requirement, connector, or terminal layout than another. Even units that look nearly identical may not communicate correctly. For multi-unit systems, replace with the same series whenever possible, or confirm that the new equipment is designed to work with the existing master station, tenant stations, power supply, and door release.
Turn off power and verify the circuit
Disconnect power before removing the old device. A basic doorbell transformer normally supplies low voltage, commonly 16 to 24 VAC, but the transformer itself is fed from line voltage. Intercom and access-control systems may use 12 or 24 volts AC or DC, and some systems include battery-backed power supplies.
Turn off the appropriate breaker or disconnect the power supply. Use a properly rated meter to verify the circuit is de-energized before touching terminals. Do not assume low-voltage wiring is safe simply because it is small. A damaged transformer, incorrect connection, or shared power enclosure can introduce hazards and damage replacement equipment.
If the system is in a common area, coordinate the outage with property management and notify affected occupants or staff. A planned 30-minute interruption is better than leaving an entry unsecured while troubleshooting.
Remove the old buzzer without losing the wiring map
For an exterior button or entrance station, remove the faceplate screws and pull the unit forward carefully. Do not tug on the conductors. Short wires are common in masonry, metal frames, and older wall boxes, and pulling too hard can break a conductor inside the wall.
Label each wire based on its terminal, not its color. For example, mark wires as “TRANS,” “FRONT,” “COM,” “CALL,” “LOCK,” or whatever is printed on the equipment. If the terminals are not labeled, photograph the connection and make a simple sketch before removal.
Inspect the wire ends while the device is disconnected. Look for corroded copper, loose splices, cracked insulation, moisture intrusion, or undersized conductors. Outdoor stations and gate call boxes commonly fail because water enters the housing or conduit. Replacing the front device without correcting the moisture path often leads to another service call.
Install the replacement and match terminals exactly
Mount the new device only after confirming it is electrically and physically compatible. For a standard button, connect the two conductors to the appropriate terminals and secure the button to a weather-resistant mounting surface. Avoid overtightening, especially on plastic housings or decorative plates.
For chimes and buzzers, connect wires according to the terminal designations in the new unit’s documentation. A typical doorbell chime may use transformer, front, rear, and common terminals. An intercom buzzer or station may have separate terminals for common, call, speaker, microphone, and door release. Do not transfer wires by position alone. Terminal placement can change between models.
When replacing an entrance intercom panel, confirm that the call buttons are assigned correctly to the intended stations. On multi-tenant applications, label directories clearly and test every occupied or active call position. If the replacement panel includes a relay for an electric strike or gate operator, verify the relay contact type and rating. A dry-contact relay is not a power source, and it may need to switch a separate lock power circuit.
Pay attention to AC versus DC and lock requirements
This is where many door buzzer replacements go wrong. A mechanical buzzer may require AC power, while many electronic chimes and access-control devices require DC. Electric strikes may be fail-secure or fail-safe, and they may require 12 or 24 volts in AC or DC. A magnetic lock normally requires continuous DC power and releases when power is removed.
Using the wrong voltage or current capacity can cause buzzing, weak operation, overheating, damaged electronics, or a door that remains locked or unlocked at the wrong time. Confirm the power supply output and the load requirements of every device on the circuit. If an intercom panel powers a door release through an onboard relay, make sure the relay is only switching a compatible load.
Restore power and test the full entry sequence
Once all connections are secure and no bare conductors are exposed, restore power. Test more than the sounder. A functional test should follow the visitor’s actual path: press the exterior button, confirm the correct indoor chime or station responds, verify two-way communication if applicable, activate the door-release control, and confirm the door opens and relocks properly.
For commercial and multi-unit properties, test during normal operating conditions. A strike that releases correctly with the door standing open may bind when the door is closed and latch pressure is present. Check alignment, latch condition, door closer force, and strike adjustment before assuming the electrical component is defective.
Also listen for transformer hum, relay chatter, or intermittent buzzing. These symptoms may point to an overloaded transformer, low voltage caused by a long wire run, a sticking button, or a failing relay. A replacement device cannot correct a power or wiring fault upstream.
When replacement becomes a system upgrade
If replacement parts are discontinued, wiring has deteriorated, or the property needs better control over multiple entrances, a larger upgrade may be more cost-effective than repeated repairs. This is common in older apartment buildings with obsolete analog intercoms, commercial sites adding credentials or keypad access, and gates that need both visitor communication and monitored entry.
A modernized system can combine an entrance station, indoor stations or master desk unit, electric locking hardware, access credentials, and video verification. That does not mean every failed button requires a full replacement. The practical decision depends on the condition of the existing infrastructure, the availability of compatible parts, and whether the system still meets the site’s security and operating needs.
For difficult applications, bring the old model information, photos of the terminals, power-supply details, and the number of doors or stations to the equipment selection process. A correct match at the start is usually faster than making a return trip after discovering an intercom handset, door release, or transformer is incompatible.
A properly replaced door buzzer should do more than make noise. It should restore a dependable entry sequence, protect the door hardware, and give occupants or staff a clear, repeatable way to screen and admit visitors.


 No products in the cart.