
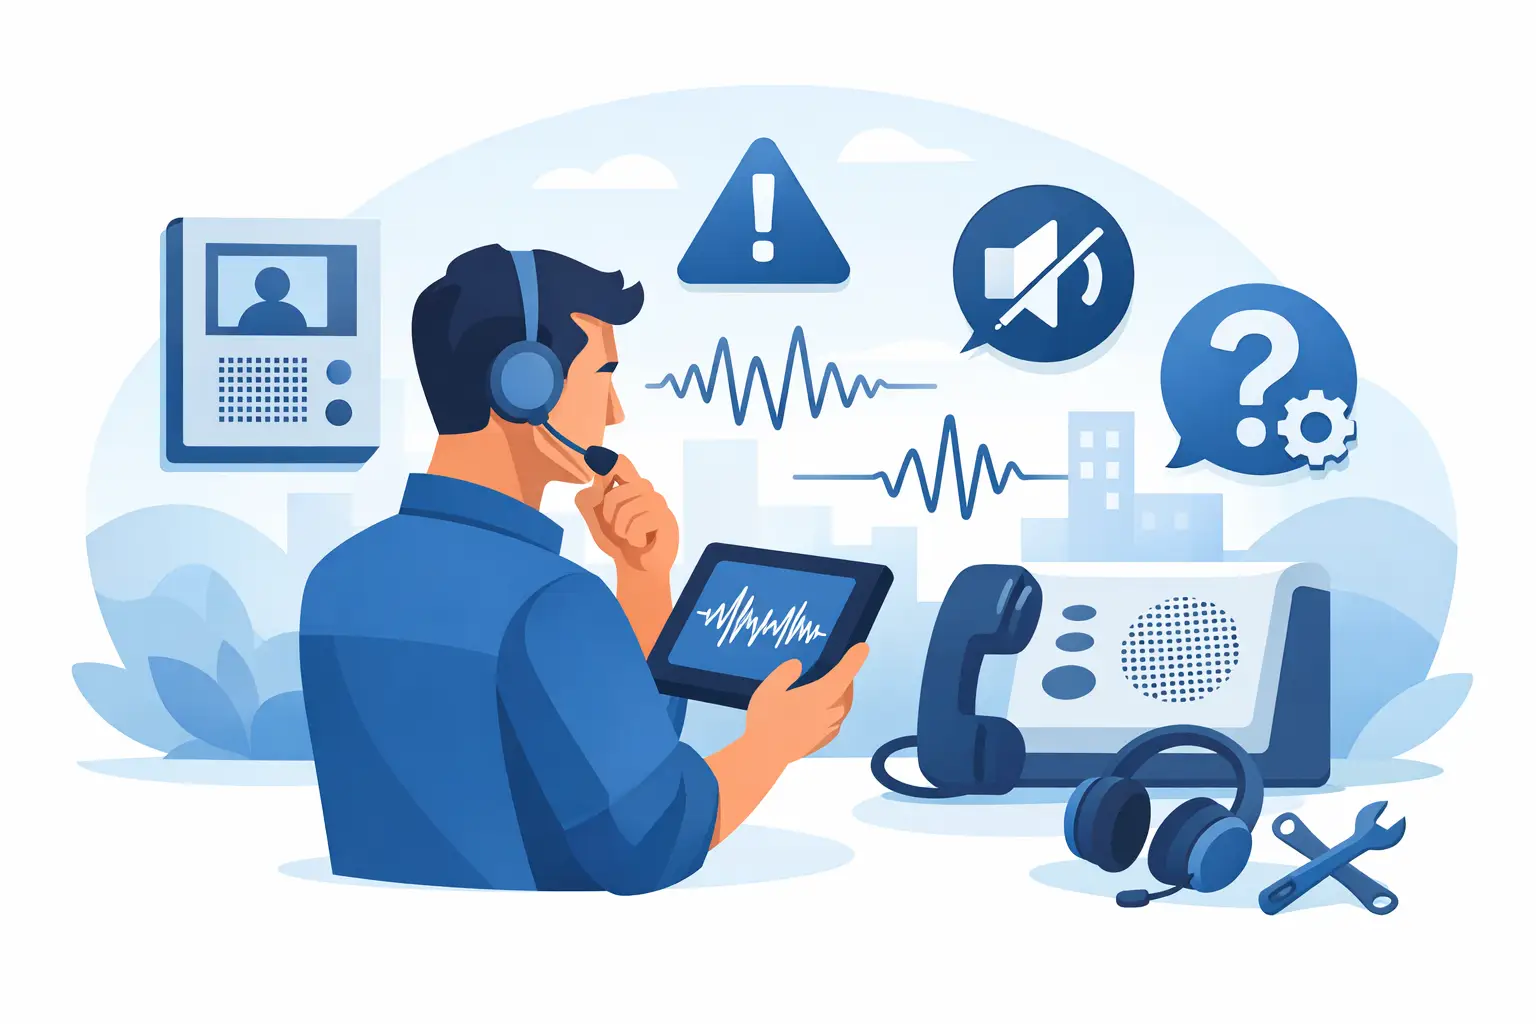
A visitor presses the call button, the indoor station rings, and then nobody can hear the person at the door. Or the audio works in one direction only, cuts out when a lock releases, or carries a constant hum through every handset. Knowing how to troubleshoot intercom audio starts with separating the symptom from the system type. An analog apartment intercom, a two-wire video entry system, and an IP door station can produce similar complaints for very different reasons.
Before replacing a station, confirm what is actually failing: call signaling, microphone pickup, speaker output, audio in one direction, all stations, or only one door. That distinction prevents unnecessary parts changes and points the technician toward power, cabling, programming, or a failed component.
How to troubleshoot intercom audio step by step
Start with the simplest test at the affected location. Place a known-good indoor station or handset on the same connection when the system design permits it. If the replacement station works, the original station is the likely issue. If it does not, move upstream to the cable run, power supply, controller, network connection, or door station.
Do not test only by listening at the interior station. Have one person speak at the door station while another listens inside, then reverse the test. Two-way audio uses separate microphone and speaker paths in many systems. A caller may be audible inside while the resident’s voice never reaches the entrance, which immediately narrows the possible fault.
Document the behavior before disconnecting wires or resetting equipment. Record which stations are affected, whether the issue began after a power outage or construction work, and whether door release, video, or call functions still operate. Those details are useful on multi-tenant properties where a single fault can appear to be a system-wide problem.
Confirm power before chasing audio faults
Low or unstable power is a common cause of weak, distorted, intermittent, or one-way audio. Check the system’s specified voltage at the power supply and again at the affected station or door panel under normal operation. A supply can show the correct reading with no load and drop when the call circuit, camera, relay, or electric lock is activated.
Inspect for loose low-voltage terminals, corroded connections, damaged transformer leads, and undersized conductors on long runs. Outdoor gate stations are especially likely to have voltage drop when they share a long cable path with a strike, maglock, or gate operator control circuit.
Keep audio and lock power in their intended circuits. When an electric strike, solenoid lock, or gate relay creates a sharp voltage dip, it can introduce buzz, reset an intercom, or make the audio disappear only during release. A dedicated, correctly sized power supply and proper suppression at inductive loads may be required, depending on the equipment design.
Watch for incorrect replacement power supplies
A replacement supply must match more than a voltage label. AC versus DC output, current capacity, polarity, regulation, and system-specific power requirements all matter. Some intercom platforms use proprietary bus power or need a manufacturer-approved distribution module. Substituting a generic supply may allow a unit to light up while leaving communication unreliable.
Isolate wiring and connection problems
For conventional analog and multiwire intercoms, inspect terminals at both ends of the run. A loose common, audio, microphone, or speaker conductor can create partial operation. Look for pinched cable, water intrusion at the door panel, paint or debris on terminal contacts, and splices hidden above ceilings or inside junction boxes.
Audio quality can also reveal the type of wiring issue. A complete loss of audio often indicates an open circuit, disconnected terminal, failed station, or missing power. Constant hum may point to induced noise, a grounding problem, or cable routed too close to line voltage. Crackling that changes when a cable moves can indicate a weak splice or corroded conductor.
When practical, use a known-good temporary cable between the door station and the control equipment. If the audio returns, the installed cable path is the problem. This test is often faster than opening every junction box in a large building. It also avoids replacing a door panel that was functioning correctly.
Cable type and distance matter. Shielded cable is not always required, but poor routing near motors, fluorescent ballasts, elevator equipment, or high-voltage conductors can introduce interference. On long analog runs, conductor gauge and manufacturer distance limits affect both audio level and call reliability. Follow the intercom model’s wiring diagram rather than assuming a cable used on a previous project is compatible.
Check the door station microphone and speaker
Door stations operate in harsh conditions. Moisture, insects, vandalism, dust, overspray, and direct sun can affect the microphone port, speaker grille, push button, and internal electronics. Examine the panel for blocked openings, loose mounting hardware, damaged gaskets, and signs of water entry.
A simple functional test helps isolate the components. If visitors can be heard inside but cannot hear the resident, suspect the door station speaker or its output path. If the resident cannot hear visitors but the visitor hears the resident, inspect the door station microphone and microphone wiring. If neither direction works but calling and door release still work, inspect shared audio wiring, station settings, and the audio module itself.
Avoid cleaning microphone openings with liquids or compressed air at close range. Both can push contamination deeper into the device. Use the manufacturer’s approved cleaning method, then retest before ordering a replacement module or complete panel.
Resolve feedback, echo, and background noise
Feedback usually occurs when a microphone picks up its own amplified speaker output. It is common at indoor master stations, hands-free monitors, gate pedestals, and installations where a station is mounted in a hard, reflective alcove. Lowering the volume may help, but it does not correct a poorly placed unit, damaged microphone, or incorrect audio gain setting.
Echo and delayed speech are more common on IP intercom systems. Check for excessive network latency, duplex mismatches on older network equipment, firmware issues, or a station configured with inappropriate echo cancellation settings. If the door station feeds audio through a video management platform, SIP server, or mobile application, test local station-to-station communication first. That tells you whether the issue is at the intercom or farther along the network and software path.
Persistent hum requires a different approach. Separate low-voltage audio cable from AC wiring where possible, verify grounding according to the equipment instructions, and inspect power supplies for ripple or overload. Grounding changes should be deliberate. Adding random jumpers can create a ground loop and make the noise worse.
Review settings, addressing, and network health
Modern video intercoms often have physical audio controls and software controls. Check station volume, privacy or mute settings, call-group assignments, microphone permissions, and any programmed schedules that affect receiving stations. On tenant systems, confirm that the door station is calling the correct apartment, extension, or monitor.
For IP systems, verify link status, PoE budget, IP addressing, VLAN assignment, and device registration. A door station that has video but unreliable audio may be operating on an overloaded switch port or have a network policy that interferes with voice traffic. Restarting a device can be a useful test, but do not make a reset the first repair step. A factory reset can erase tenant directories, network settings, credentials, and access-control programming.
Firmware can resolve known audio issues, but update only after confirming compatibility and preserving the current configuration. On occupied properties, schedule the work so entry communication and door release are not interrupted during a busy period.
Know when repair is no longer the economical option
Replace a component when tests identify a failed microphone, speaker, amplifier, handset, or audio board and the part is available. Replace the station or panel when water damage has reached multiple assemblies, the enclosure is compromised, or the model no longer supports required replacement parts.
For older apartment and commercial systems, compatibility deserves careful attention. A new station may look similar while using a different wiring scheme, impedance, bus protocol, or call method. Before purchasing, identify the intercom brand, model number, number of wires in use, power specifications, and whether the system is analog, digital, two-wire, or IP-based. UnikCCTV can help match professional-grade replacement equipment to the actual installation rather than relying on appearance alone.
A disciplined diagnosis protects the property owner from repeat service calls and protects the installer from replacing the wrong part. Test one layer at a time, preserve working programming, and treat audio as part of the larger entry system – especially where locks, gates, cameras, and tenant communications share the same infrastructure.

 No products in the cart.