
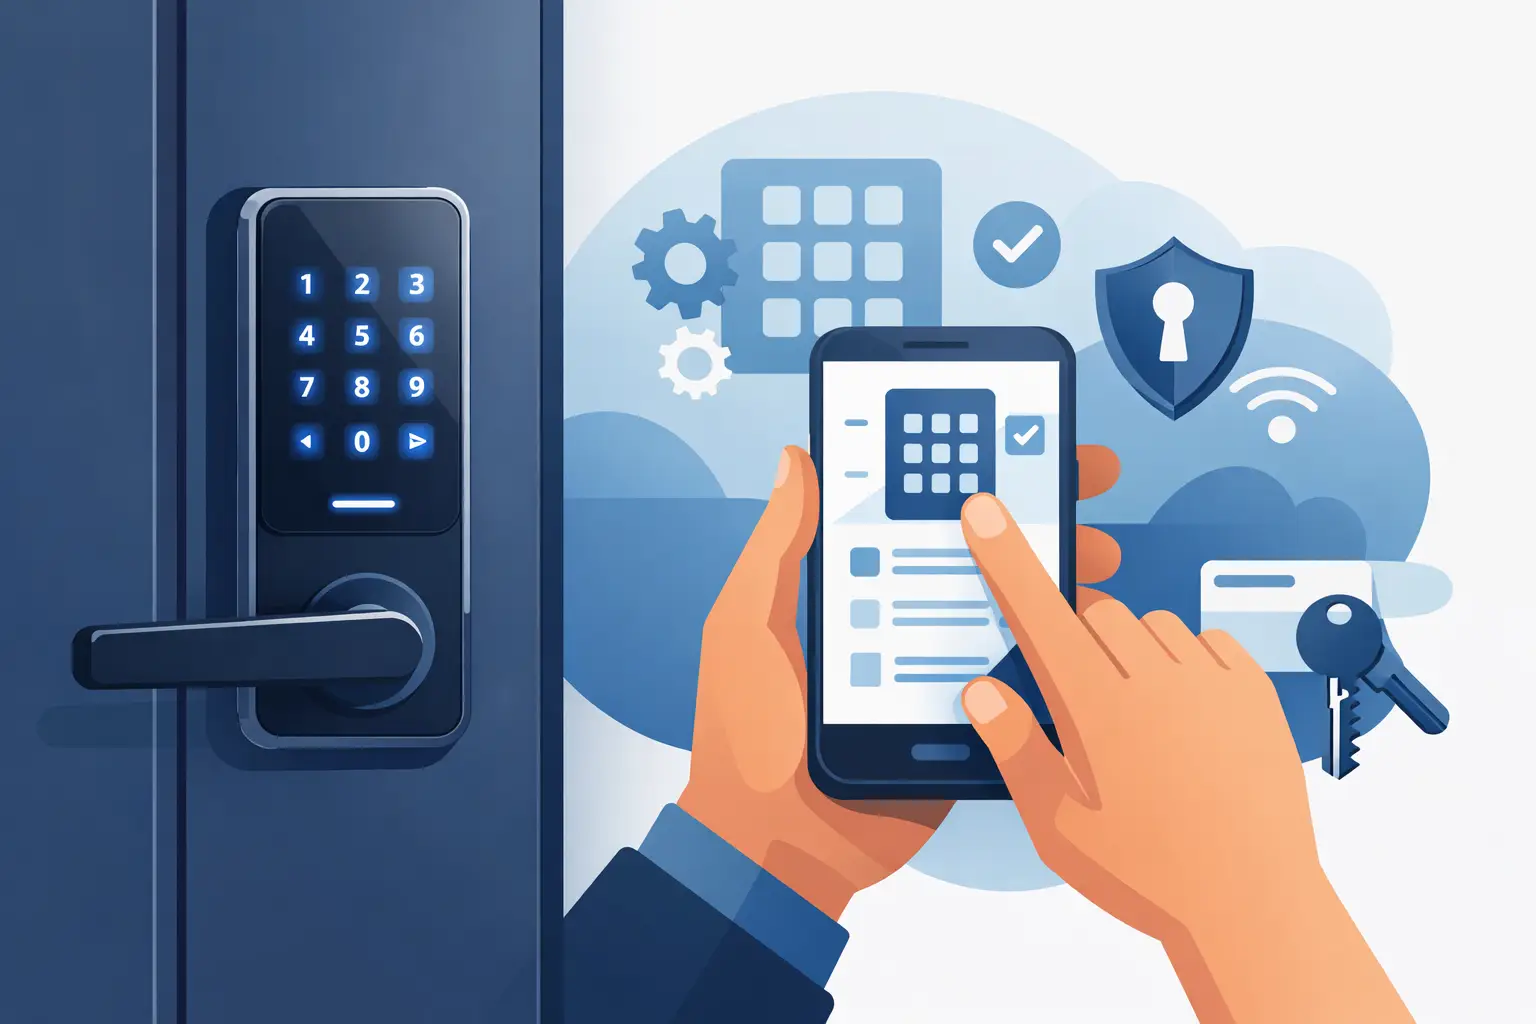
A keypad that accepts a code but does not release the door is not programmed correctly – it is only partially configured. When learning how to program access keypad hardware, treat the keypad, controller, power supply, lock, request-to-exit device, and door condition as one operating system. The code is only one part of the job.
For a single office door, the process may take a few minutes. For an apartment entry, school, gate, or multi-door commercial site, programming should follow a documented plan so staff credentials, schedules, emergency access, and lock behavior remain controlled after the installer leaves.
Start With the System Type, Not the Keypad Buttons
Access keypads fall into two common categories. A standalone keypad contains its own relay and stores user codes internally. It typically connects directly to an electric strike, magnetic lock, gate operator input, or another locking device. This is common for one-door applications where simple PIN access is sufficient.
A reader keypad works with a separate access controller. In that arrangement, the keypad sends credential data to the controller, and the controller decides whether to release the door based on permissions, schedules, door status, and other system rules. These systems are better suited to multiple doors, card-and-PIN requirements, audit trails, and sites where credentials must be managed centrally.
The programming method depends on the manufacturer and model. Some units use a master code entered at the keypad. Others require a programming card, mobile application, web interface, software, or controller keypad. Before changing any setting, identify the exact model and obtain its programming instructions. Guessing command sequences can remove existing users, alter relay timing, or place the keypad in a mode that leaves the opening unsecured.
Verify the Door Hardware Before Adding Codes
Programming access codes cannot correct a wiring or door-hardware issue. Confirm that the locking device is powered, the door closes and latches correctly, and the release method matches the lock type.
An electric strike usually requires a timed relay output to allow the mechanical latch to open. A maglock generally requires power to be removed to release, so it must be wired and programmed with the correct fail-safe logic. Gate operators often need a dry-contact momentary trigger rather than lock power. Sending the wrong output type or voltage can cause intermittent operation or equipment damage.
Also verify whether the keypad relay is rated to switch the load directly. Many electronic locks require more current than a keypad relay should carry. In those cases, use an appropriately rated external relay or power supply interface. This is a common point of failure on commercial doors: the keypad works, the relay clicks, but the lock does not release reliably under load.
Before programming users, test the opening with the request-to-exit button, key switch, or release input. If the door will not release through a known working control, resolve that issue first.
Establish a Secure Programming Plan
Do not begin by assigning the first convenient code. A professional setup starts with a credential plan. Determine who needs access, which users require permanent or temporary credentials, and whether any codes should expire automatically.
At minimum, separate administrator credentials from standard user credentials. The master or programming code should not be shared with tenants, general staff, vendors, or every maintenance technician. Store it in the property’s controlled security documentation and change it whenever a person with programming authority leaves the organization.
Avoid obvious PINs such as 1234, 0000, unit numbers, birth years, addresses, or the last four digits of a phone number. Four-digit codes may be acceptable for a low-risk interior door with frequent supervision, but longer codes offer a larger number of possible combinations. For an exterior commercial entrance, a six-digit PIN or a card-and-PIN credential can be the better choice.
For managed properties, create a simple record that includes the user name or role, credential number, activation date, expiration date if applicable, and the doors or schedules assigned. Do not write the actual PIN next to the person’s name in a public log. The point is to make removal and auditing practical without exposing credentials.
How to Program an Access Keypad Step by Step
The exact keystrokes vary, but the workflow is consistent across most professional keypad systems.
1. Enter programming mode
Use the authorized master code, programming card, or management interface to enter administrator mode. Many keypads indicate programming mode with an LED color change, flashing light, tone, or display message. Keep the door area controlled during this work so no unauthorized person can observe the master credential or enter through an open door.
If the unit is newly installed, change the factory default master code before adding users. Default programming codes are commonly available to anyone who can identify the product model. Leaving one in place creates a preventable security gap.
2. Select a user location or credential record
Standalone keypads typically assign each user to a memory location or user ID. Controller-based systems may create a person record and then associate a PIN, card, fob, mobile credential, or schedule with that person.
Use a numbering structure that makes sense for future service. For example, reserve low-numbered records for administrators and maintenance, assign a block for employees or residents, and leave capacity for temporary users. The system does not require this structure, but the next person servicing the site will appreciate it.
3. Add the PIN or credential
Enter the selected user ID and the new PIN according to the manufacturer’s instructions. If the system supports cards or fobs, enroll the physical credential as part of the same record. Some systems allow a PIN-only mode, card-only mode, or a requirement for both. Choose the mode based on the risk level and how the property operates.
A warehouse side door used by a small trained team may work well with cards or fobs for quick entry. A school office, server room, cash-handling area, or high-value storage room may warrant two-factor access, where a card alone is not enough.
4. Set the relay action and unlock time
Program the correct output behavior for the opening. The relay may need to energize or de-energize upon a valid credential, depending on whether the lock is fail-secure or fail-safe. Then set the release duration.
A typical pedestrian door may need three to seven seconds. A gate may need a momentary pulse, while an accessible entrance or a door with a slower closer may require more time. Excessive unlock time weakens security. Too little time causes users to pull on a still-locked door, leading to complaints and unnecessary service calls.
5. Apply schedules, anti-passback, or temporary access when available
Standalone keypads may offer limited scheduling, while controller-based systems can support detailed permissions. Use schedules where they solve an operational problem, such as restricting contractor access to business hours or allowing cleaning staff entry after normal office hours.
Do not overcomplicate a small system just because the feature exists. A site with one door and five trusted users may benefit more from clear code management than from an elaborate schedule nobody maintains. On the other hand, a multi-tenant or staffed facility should use time-based permissions to reduce reliance on shared codes.
6. Exit programming mode and test every function
After saving the changes, exit programming mode and test with the new credential. Confirm that an authorized PIN releases the door, an incorrect PIN does not, and the lock re-secures after the programmed time. Test the request-to-exit device, key override where installed, door closer, and alarm or door-position contacts.
For exterior doors, test from both sides. A credential that works when the door is already unlatched does not prove the strike, maglock, or gate interface will operate correctly during normal use.
Common Programming Problems and What They Usually Mean
If a keypad beeps or flashes but the door remains locked, check relay wiring, lock power, relay timing, and whether the output is configured for the correct fail-safe or fail-secure behavior. If no keypad response occurs, verify supply voltage, polarity, wire terminations, and whether the keypad is in lockout after repeated incorrect attempts.
If valid codes work inconsistently, inspect the physical opening. A misaligned strike, sagging door, damaged latch, weak power supply, or voltage drop on a long cable run can look like a programming problem. Electrical locking hardware must be mechanically sound to work consistently.
If users are repeatedly locked out, determine whether the system has an incorrect schedule, expired credential, wrong user ID, or PIN-length requirement. Do not solve this by giving everyone the master code or leaving the door permanently unlocked.
Maintain the Keypad After Commissioning
Programming is not a one-time event. Remove credentials promptly when employees, tenants, vendors, or contractors no longer need access. Change shared codes after turnover, and review administrator access periodically. If a keypad is installed outdoors, inspect seals, mounting, cable entries, and key legends for wear that may reveal frequently used digits.
For new installations or system expansions, UnikCCTV can help match keypad and controller options to the lock type, door count, power requirements, and operational needs of the property. The right hardware choice makes programming easier, but disciplined credential management is what keeps the door controlled long after the installation is complete.
A well-programmed keypad should be simple for authorized users and difficult to bypass for everyone else. Document the configuration, test the entire opening under normal conditions, and leave the site with a clear process for adding and removing access.


 No products in the cart.