
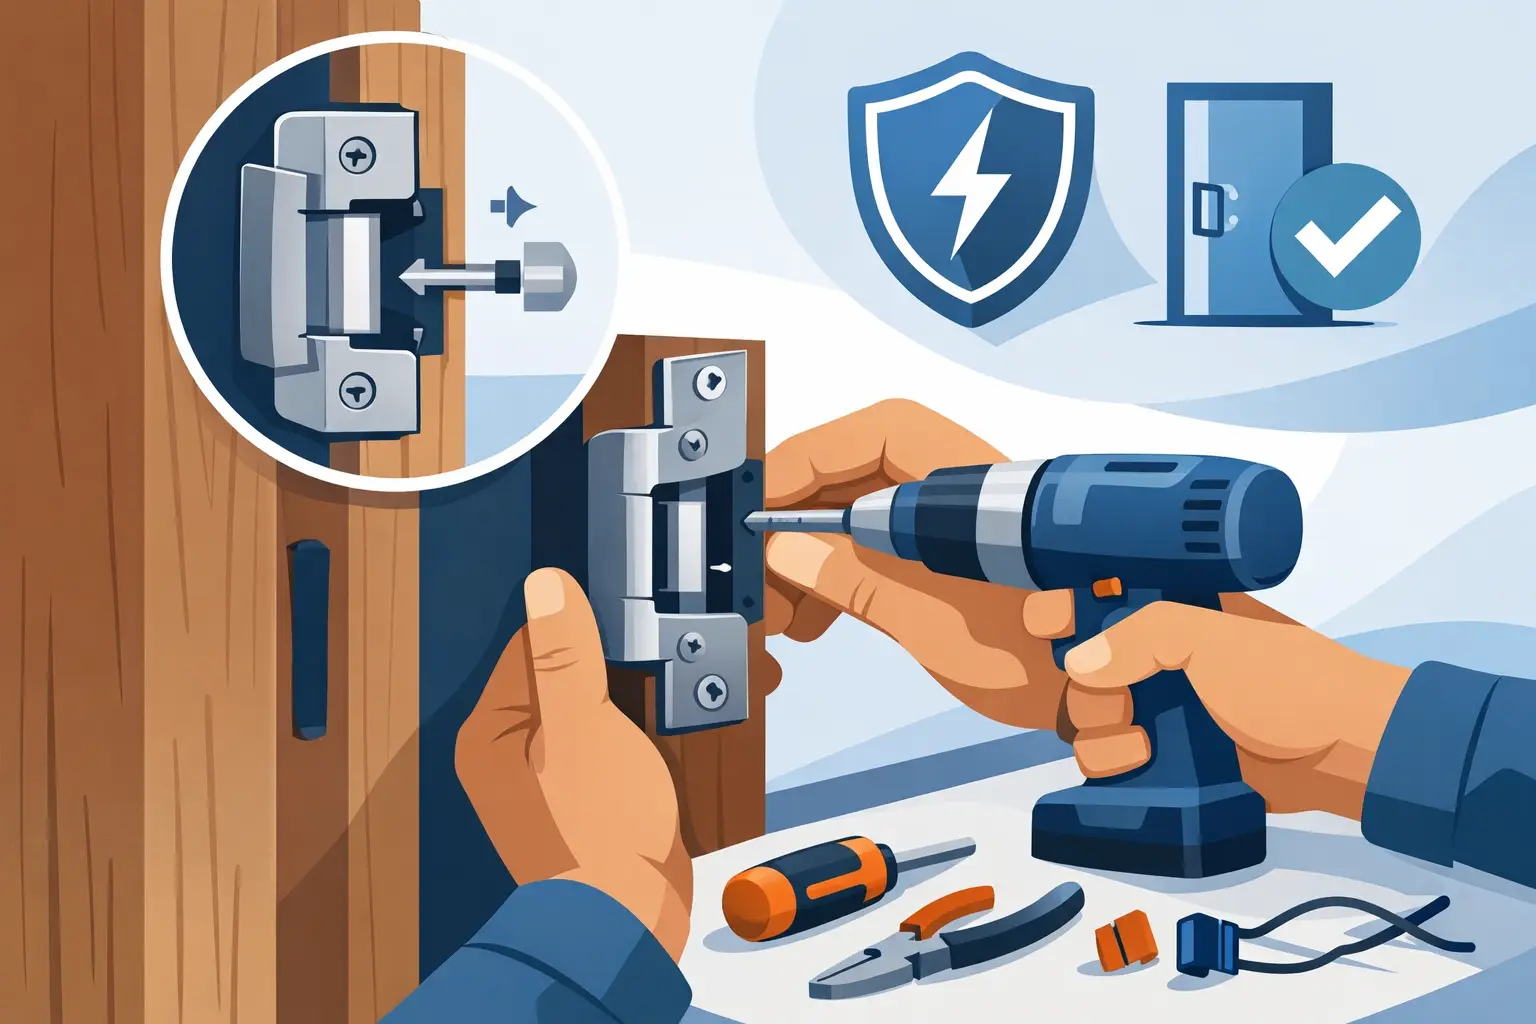
An electric strike that buzzes but will not release, or releases but leaves the door misaligned, usually comes down to one of three issues – the wrong strike, poor frame prep, or weak planning before the first cut. If you are figuring out how to install electric strike hardware on a commercial door, apartment entry, office suite, or interior access-controlled opening, the job is less about forcing a lock into the frame and more about matching the strike to the door, latch, power source, and traffic pattern.
That matters because electric strikes are not one-size-fits-all. A cylindrical lock on an aluminum storefront frame creates a very different installation than a mortise lock on a hollow metal frame. Add fire ratings, fail safe versus fail secure operation, request-to-exit devices, and access control integration, and the right installation starts well before wiring the strike leads.
Before you install electric strike hardware
The first step is confirming that an electric strike is the correct locking method for the opening. In many applications, it is the most practical choice because it allows the mechanical lockset to stay in place while the frame-mounted strike controls entry. That is often faster and less disruptive than replacing the lock body with a fully electrified lock.
Still, there are trade-offs. Electric strikes work best when the latch and frame relationship is clean and consistent. If the door is sagging, the closer is slamming, or the latch barely enters the keeper, the strike may become a bandage for a door problem rather than a real solution. Correct the mechanical condition of the opening first.
You also need to verify five points before selecting the unit. Identify the lock type, the frame type, the handing, the voltage available, and whether the opening should be fail safe or fail secure. Fail secure keeps the door locked during power loss and is common for perimeter security. Fail safe unlocks when power is lost and is used where life safety or free egress requirements call for it. Code requirements vary by door location and building use, so confirm the hardware schedule and local code before installation.
How to install electric strike: plan the opening first
A clean install starts with compatibility, not tools. Confirm whether the strike is designed for cylindrical, mortise, rim panic, or deadlatch applications. Check the backset and the latch projection. Some strikes include interchangeable faceplates and keeper options, which helps when retrofitting mixed door conditions, but you still need the latch to enter and release correctly under preload.
Next, inspect the frame construction. Hollow metal frames are common in commercial settings and usually provide enough structure for a secure mount, but cutting them requires care and accurate marking. Aluminum frames can be faster to prep with the right templates, though tolerances are less forgiving. Wood frames may need reinforcement depending on the opening and the traffic level.
If the opening is fire rated, use a strike specifically listed for that use and follow the manufacturer instructions exactly. Field modifications on rated frames and doors are not something to improvise. The listing and the prep dimensions matter.
Tools and materials that usually make the job easier
Most installers already have the basics, but electric strike work goes faster when the measuring and prep tools are accurate. You will typically need a tape measure, square, drill, bits, step bit, metal cutting tools as appropriate for the frame, a screwdriver set, a multimeter, fish tape or pull tools, and the manufacturer template. On retrofit jobs, touch-up paint and edge protection can also be useful after frame prep.
For the electrical side, plan the low-voltage cable path before you cut anything. A strike that fits perfectly but has no practical path back to the power supply or controller is not a finished installation. If the opening is tied into an access control system, identify the power source, relay output, cable gauge, and any door position or request-to-exit devices that share the opening.
Frame prep and mounting
Start by removing the existing strike plate and checking the latch location with the door fully closed. This is where many retrofit installs go sideways. Do not assume the original prep is centered or square. Mark the true latch centerline from the actual door position, then compare it with the template for the strike.
Use the manufacturer template to outline the cut area and mounting holes. On metal frames, drill pilot holes carefully and make controlled cuts. Take out only the material required for the body and faceplate. Overcutting weakens the frame, leaves visible gaps, and makes final alignment harder. On narrow stile or storefront applications, even a small measurement error can affect keeper position.
Test-fit the strike body before final fastening. The keeper should sit so the latch enters freely without rubbing, but not with so much play that the door chatters or fails to secure consistently. If the strike includes shims or adjustment tabs, use them to fine-tune the relationship between latch and keeper rather than forcing the frame or faceplate into position.
Once the fit is correct, mount the strike securely with the supplied hardware. On higher-traffic doors, frame reinforcement and proper fasteners are not optional. A loosely mounted electric strike may work during bench testing and still fail under repeated daily use.
Wiring the electric strike
Wiring depends on whether the strike is AC or DC, the operating voltage, and whether it is being controlled by a simple push button, keypad, intercom relay, or full access control panel. Read the strike specifications before applying power. Sending the wrong voltage or current type can shorten life or damage the unit.
Run the cable through the frame in a protected path and avoid sharp edges. Where the wire passes through drilled metal, use bushings or edge protection. Make clean terminations and label conductors if the opening is part of a larger system. Future service calls go faster when the wiring is organized.
Before connecting to the strike, verify voltage at the source with a multimeter. Then confirm the control logic. Some systems send power to unlock, others remove power to unlock depending on the strike type and relay arrangement. This is where fail safe and fail secure decisions show up in the wiring. Get that wrong and the door may operate opposite of the intended security plan.
If the opening has an intercom or card access system, test the relay output independently before tying in the strike. A weak or incorrect relay signal can look like a strike problem when the real issue is upstream.
Testing and adjustment
After mounting and wiring, test the opening with the door open first. Activate the strike and verify that the keeper releases cleanly. Then test again with the door closed and latched. This second test matters more because preload, closer pressure, and latch position all affect performance under real conditions.
If the strike hums or clicks but does not release, check alignment first. Slight door pressure can bind the latch against the keeper. Some openings need a latch guard, closer adjustment, or a different keeper style to handle preload. If the strike does not energize at all, recheck voltage at the strike leads while the release command is active.
Cycle the door repeatedly. Watch for intermittent release, delayed relocking, or a latch that catches only on the edge of the keeper. These are signs that the opening needs adjustment, not that the unit is simply good enough. On busy commercial doors, small alignment issues usually get worse fast.
Common installation problems
The most common mistake in how to install electric strike hardware is choosing a strike based on faceplate size instead of lock compatibility. The second is ignoring the actual condition of the door and frame. A strike cannot compensate for a warped door, poor latch engagement, or a misapplied closer.
Another frequent issue is underpowering the opening. Long wire runs, small gauge cable, or a marginal shared power supply can cause low voltage at the strike during activation. The result may be intermittent operation that only appears during peak use.
Then there is code compliance. A secure opening is not automatically a compliant opening. Fire-rated assemblies, stair doors, and egress paths need special attention. If the opening is in a school, multifamily property, or commercial facility with life safety requirements, treat hardware selection and wiring logic as part of the full door system, not as a standalone product swap.
When the install needs a different approach
There are times when an electric strike is not the best answer. If the frame cannot be modified easily, if the door uses hardware with poor strike compatibility, or if aesthetics and frame condition matter more than retrofit speed, an electrified lockset or magnetic lock system may be the better path. The right answer depends on the opening, user behavior, code requirements, and service expectations.
For installers and property teams managing multiple doors, consistency matters too. Standardizing strike voltage, faceplate styles, and lock compatibility across a site can reduce troubleshooting and spare part headaches later. That is often where experienced distributor support helps, especially when the opening is not a textbook retrofit.
A properly installed electric strike should feel uneventful in daily use. The door closes, latches, releases when authorized, and relocks without drama. If you approach the job with the right hardware match, careful frame prep, and real testing under load, that is usually exactly what you get.


 No products in the cart.